

COMPOTE BOWL TABLE DESIGN
A COMPLETE STEP-BY-STEP GUIDE to CREATE A SUMMER TABLE DESIGN
WHAT YOU’LL LEARN
The best sustainable mechanics to use to create a wild and loose table design and how to assemble the mechanics correctly within your vessel, so they fully support each stems. You will also learn how to choose the best seasonal ingredients, how to create the outline shape with greenery, to form the base to your entire design and how to add your focal and accent flowers. Plus you will learn tips on best ways to care for your design, to increase its longevity, and most importantly, you will learn how to apply each step to your own, wonderful style, so you can make your design, truly unique.
overview
This is a key design, it is one I create the most in our studio for clients’ weddings, events and parties. It’s perfect for both formal and informal celebrations. It’s a key, foundational design, that can be recreated in many different ways, across each season, using a huge variety of different greenery and flowers.
WHAT YOU’LL NEED
MECHANICS & PROP
COMPOTE BOWL - footed bowl, measuring between 12cm and 18cm diameter
FLORISTRY SCISSORS - from floristry sundry suppliers
CHICKEN WIRE - from homeware stores
FLORISTRY POT TAPE - from floristry sundry suppliers

FLOWERS & GREENERY
GREENERY - jasmine, silver birch and viburnum
TEXTURE FLOWERS - achillea
FOCAL FLOWERS - a mix of garden roses in blush and yellow tones
N.B. this is simply to give you a guide on shape and size, please enjoy selecting your own, different ingredients!
COMPOTE BOWL STEP-BY-STEP

STEP ONE
CHICKENWIRE - cut a section of chickenwire approx. 50cm square. I use and reuse the same pieces of chickenwire again and again.

STEP TWO
CHICKENWIRE PILLOW - create a pillow, simply using your hands to fold the chickenwire into a pillow shape. You are aiming for between three and four layers of chickenwire within the pillow, the more layers, the more support.
N.B. The edges of the chickenwire can be sharp, you may opt to wear gardening gloves for this step.

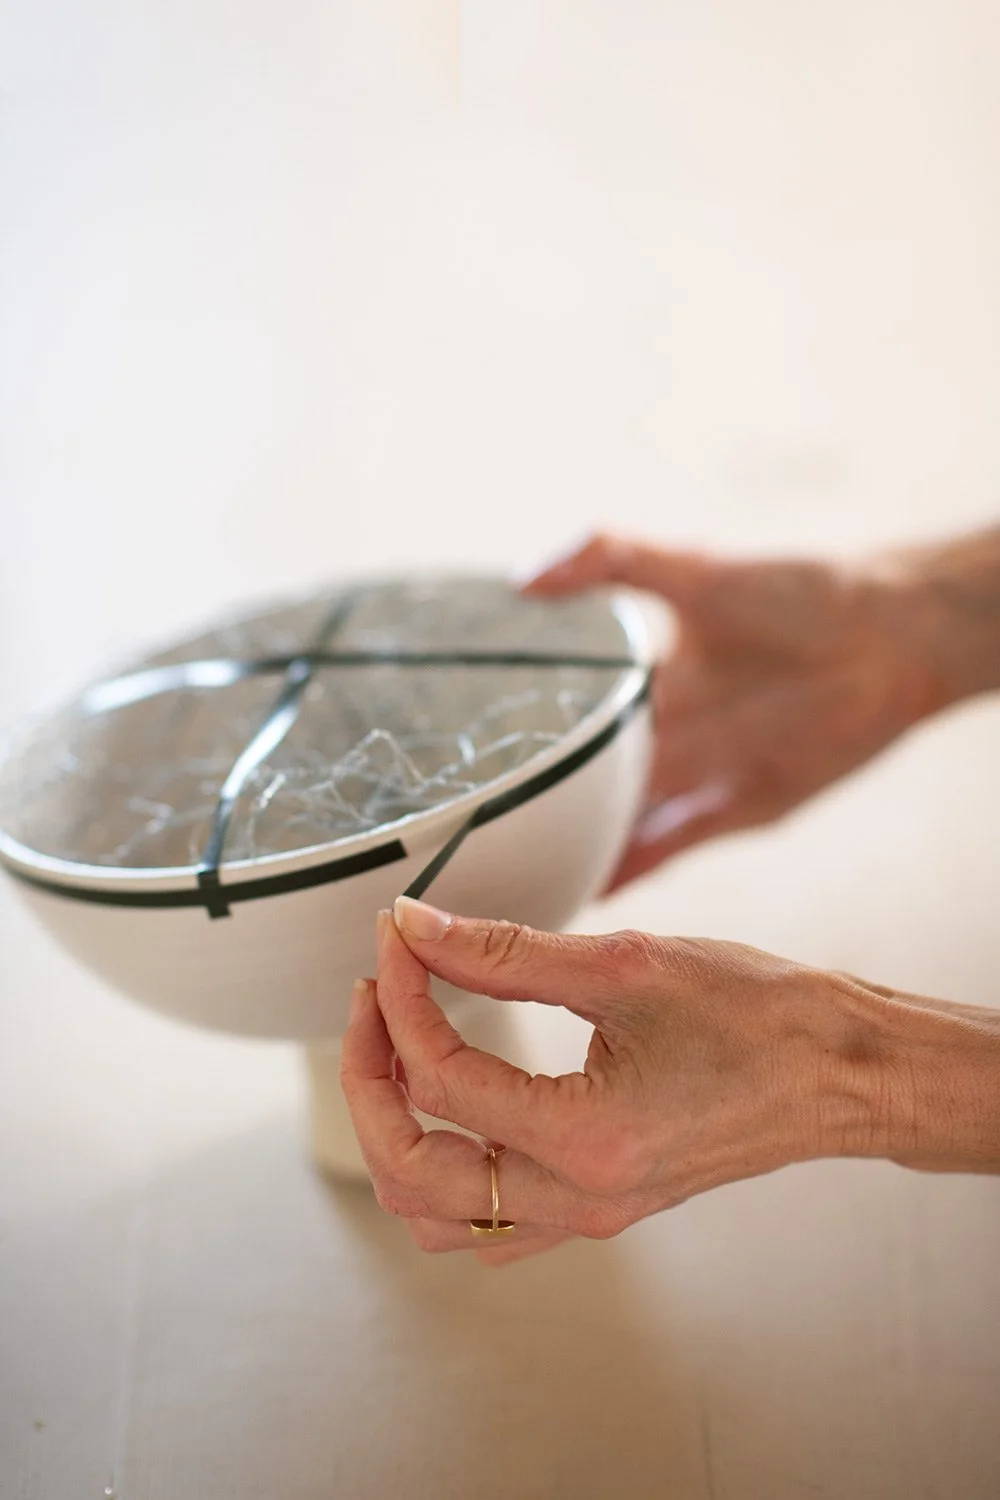
STEP THREE
TAPE - using floristry pot tape (a waterproof tape, available from most floral sundry suppliers), tape one length over the wire and securely fix to the edge of the bowl. The tape keeps the chickenwire stable, otherwise the wire could easily move as you add your stems, and potentially slip out of the vessel.

STEP FOUR
CROSS TAPE - add a second length of pot tape, to form a cross.
N.B. Keep your tape lengths short, so they are easily hidden behind the greenery and flowers; you don’t want any of the base mechanics visible once the design is finished.
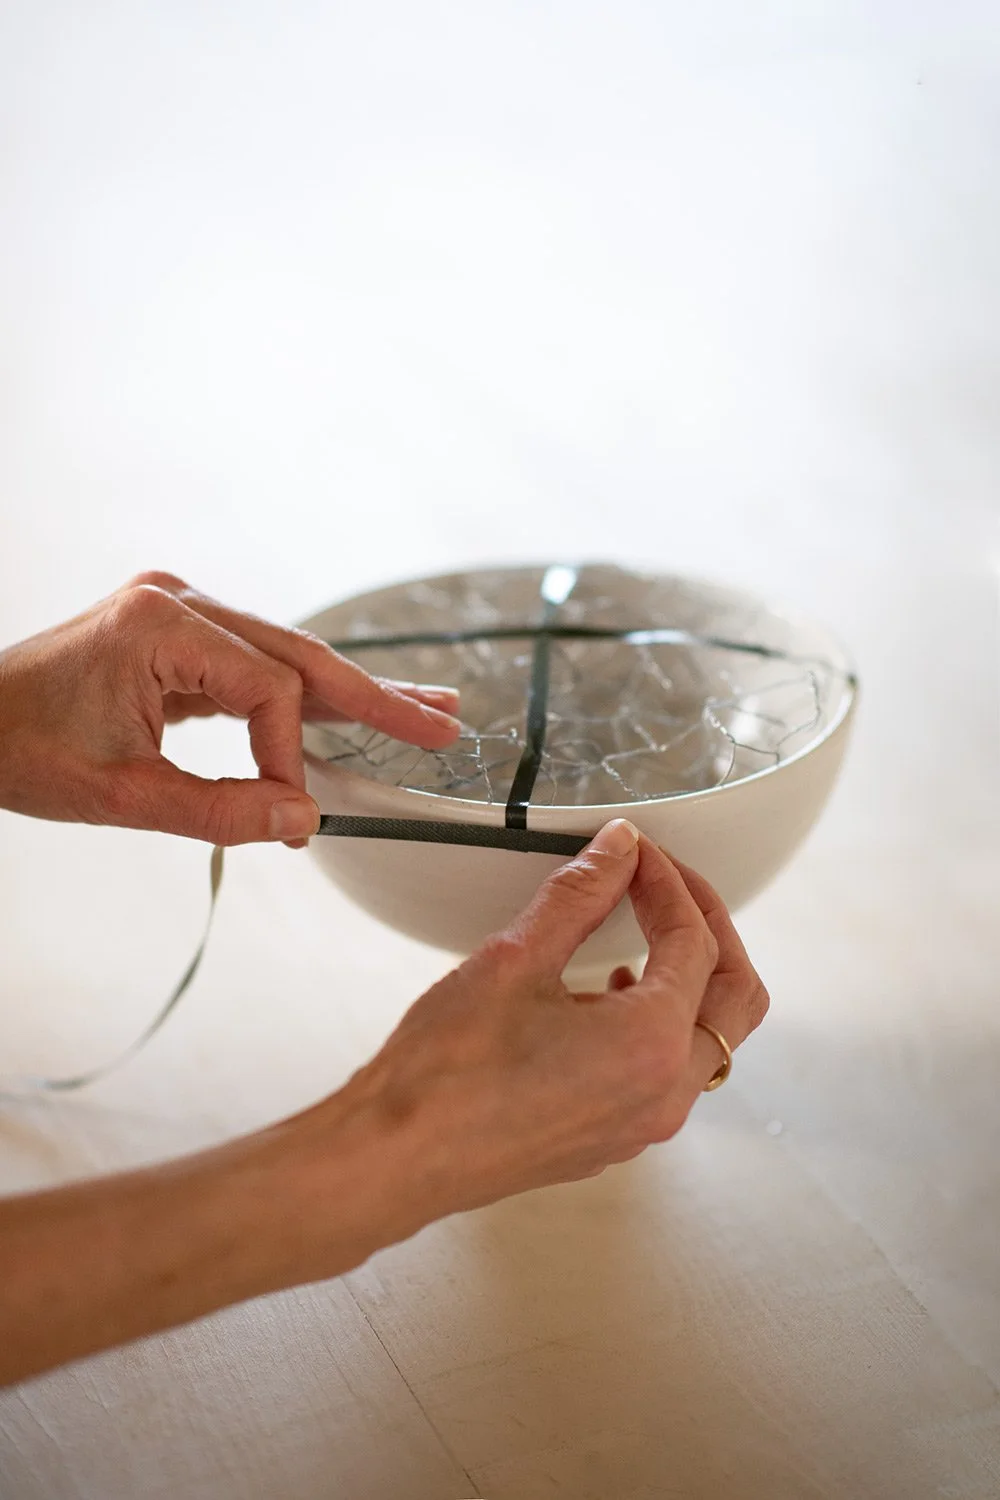
STEP FIVE
SECURING TAPE - add one final length of tape, around the circumference, firmly securing the two lengths to your vessel. It’s key to complete this step, otherwise your two lengths may come loose.

STEP SIX
FINAL TAPE SECURE - place the final section of your tape over the beginning of the tape. This is more secure than finishing on the vessel.

STEP SEVEN
FINISH MECHANICS - your base mechanics are done!
N.B. I have opted for chickenwire, rather than a Kenzan (otherwise known as a pin holder or a frog) as I find the chickenwire holds and supports the larger and thicker stems better. Kenzans are great for more delicate designs.

STEP EIGHT
FIRST STEM - fill the vessel with water. Place your first greenery stem into the chickenwire centrally, and up to the right as we begin to create an asymmetrical shape for the design.
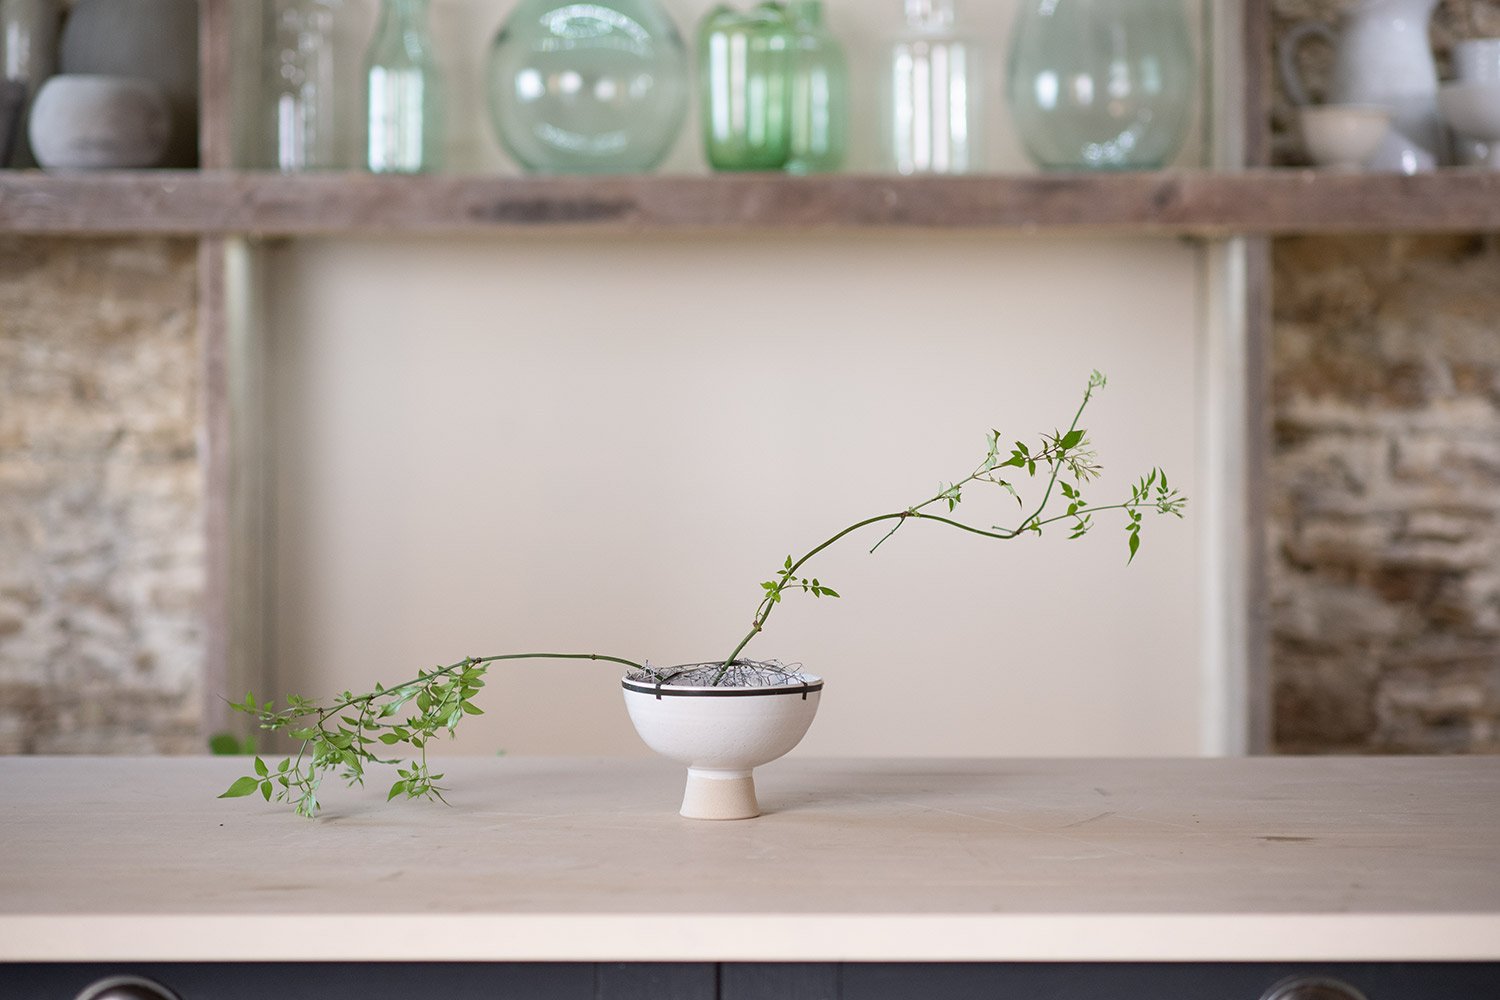
STEP NINE
SECOND STEM - placed into the chickenwire centrally, down and to the left.

STEP TEN
NEXT STEMS - begin to create the outline shape, with shorter stems, following the asymmetrical shape, with a defined dip in the centre of the design.

STEP ELEVEN
MORE OUTLINE STEMS - continue adding greenery, following the outer shape of the design.

STEP TWELVE
FRONT & BACK - the design will predominately run from left to right, but don’t forget to add shorter stems to the front and back of the design.

STEP THIRTEEN
GOING LARGE - you may decide to keep focussed on the initial asymmetrical shape, here I am going bigger with the foliage, focussing on keeping the defined central dip.

STEP FOURTEEN
FINAL FOLIAGE & TEXTURE FLOWERS - finish adding your foliage, and add texture flowers through the design (I used a mixture of viburnum and achillea).

STEP FIFTEEN
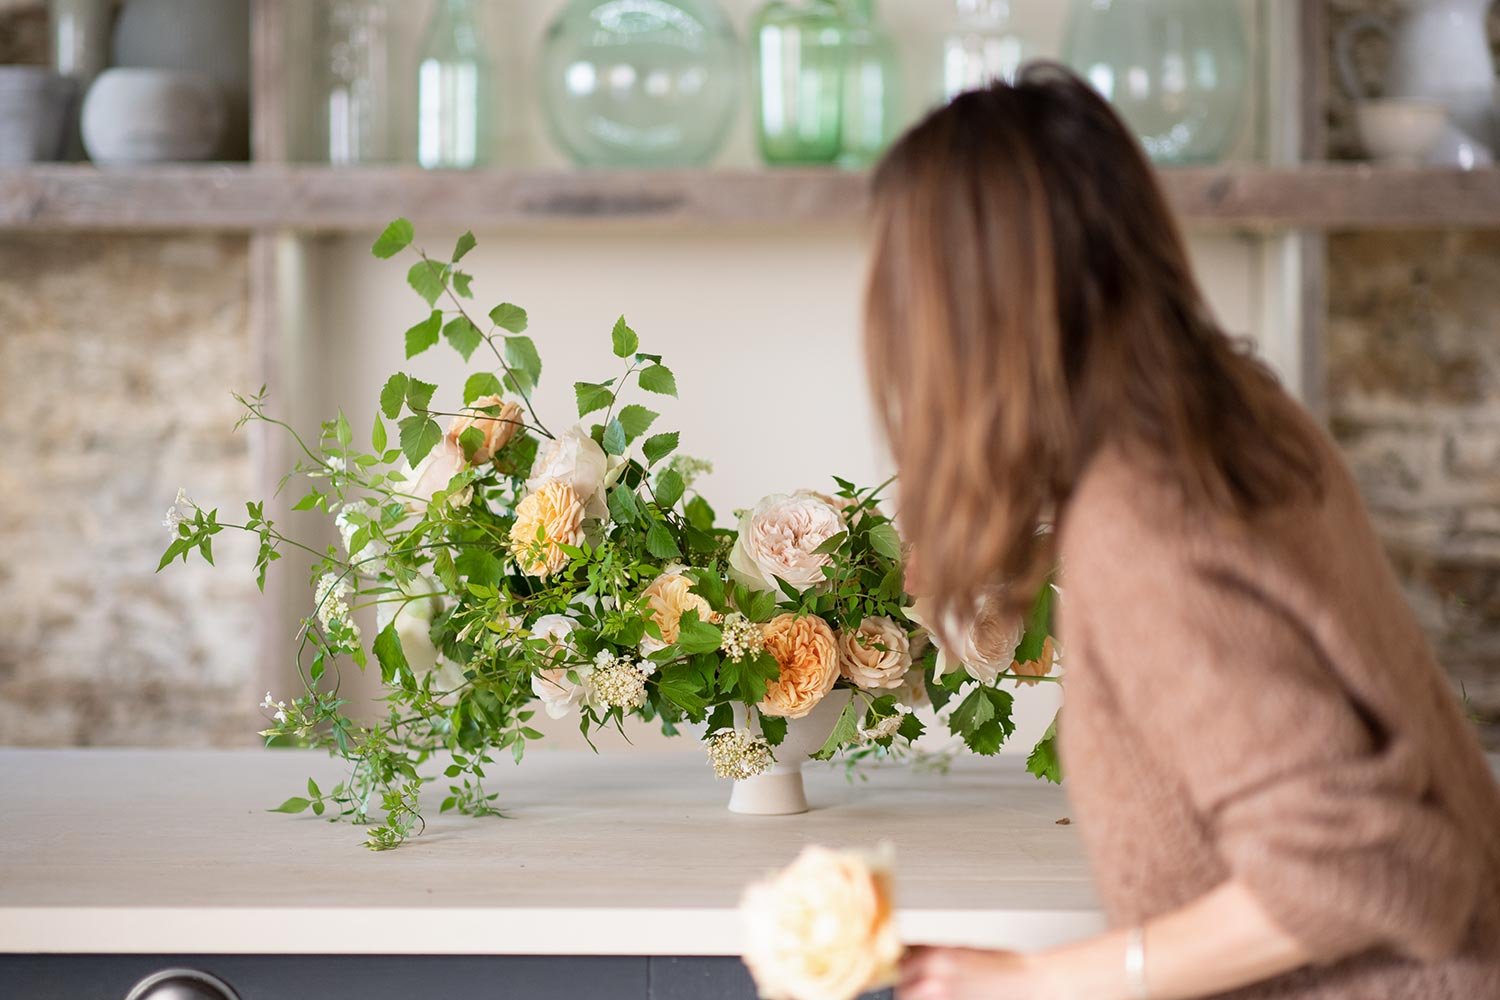
FIRST FOCAL FLOWER - large garden rose, placed centrally within the design.

STEP SIXTEEN
NEXT FOCAL FLOWERS - following the shape of the design, add a mix of different focal flowers across the design, both short and long lengths.

STEP SEVENTEEN
FOCAL FLOWERS CONT. - keep the focal flowers spaced apart and ensure there placements are relatively random, avoid any mirroring effect i.e. avoid identical placements on each side of the design.

STEP EIGHTEEN
FOCAL FLOWERS OVER LIP - add focal flowers over the lip of the vessel, so you break up the line between the design and the vessel, helping the two components to become one design.
STEP NINETEEN
FINAL FOCAL FLOWERS - continually stand back and check your design from all sides, adding just enough to give depth and a completeness to your design, without creating a feeling of density.

FINISHED DESIGN
STAND BACK - and admire your work, and follow the design care guide below.
CARING FOR YOUR DESIGN
Place your design in a cool spot, away from direct sunlight, and always keep the water topped up.
If you are creating this design for an event, you can happily create the day before.
To boost the design’s longevity, you can change the water by simply placing the entire design into a sink and with a fine hose/nozzle placed low down, into the design, flush the old water out, replacing with new. If any of the stems start to wilt before others, simply nip these out and if there is a clear gap in the design, add a stem or two of foliage.


“This is a key, foundational design that can be recreated in many different ways, across each season, using a huge variety of different greenery and flowers.”

